


How To Use Canva Templates To Create Videos Tutorial for Beginners
Canva Tutorial
Watch The How To Use Canva Templates To Create Videos Tutorial for Beginners Video Below

How To Use Canva Templates To Create Videos
Learn How To Use Canva Templates To Create Videos
Easy To Follow Canva video Tutorial For Beginners
Here Are Some Of Our Services
How To Use Canva Templates To Create Videos Tutorial for Beginners

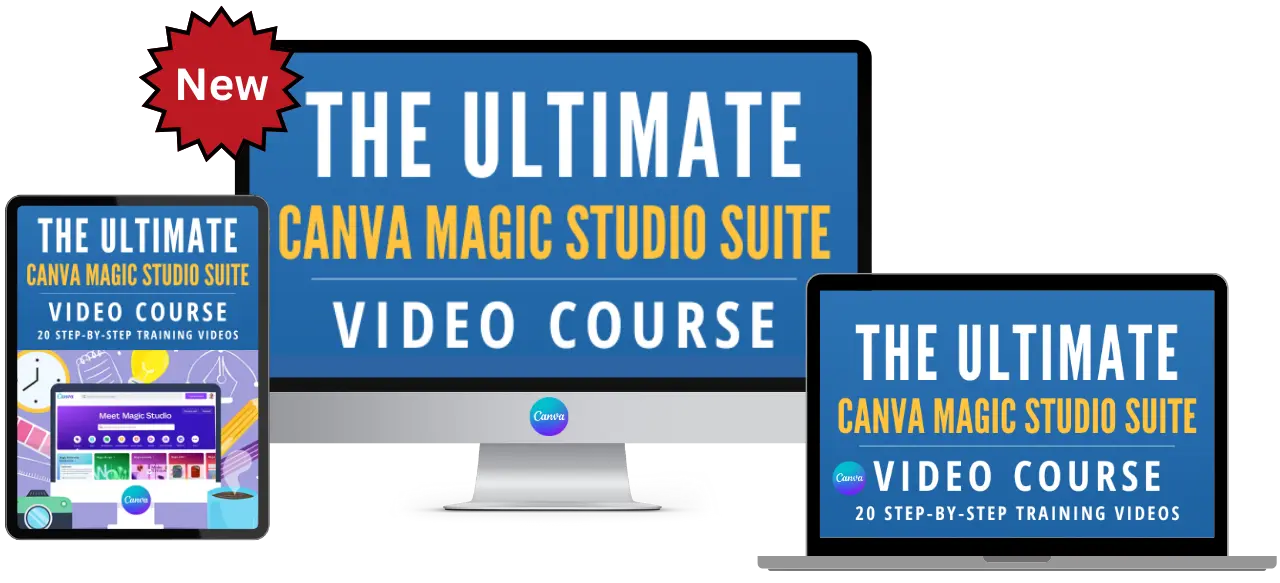
PLR Canva Templates!
Start Creating Stunning Designs with Customizable Templates!
Get Instant Access to These Ready-to-Use PLR Canva Templates Today!

Content Creation Services

Unlock Canva Cash: The Ultimate Guide to Making Money with Canva Templates!
Please Watch The
Video Below
Plus Get 4 Free Canva Mockup Templates & Start Earning Now!
Frequently Asked Questions
Welcome to Our Comprehensive FAQ Guide on Creating Videos with Canva Templates
Diving into the world of video creation can be both exciting and a bit overwhelming, especially if you’re just getting started. That’s why we’ve crafted this detailed FAQ section, tailored specifically for beginners eager to explore the vast creative potential of Canva for video creation. Whether you’re aiming to make engaging social media content, compelling presentations, or personal keepsake videos, our guide is here to assist you every step of the way.
In this section, you’ll find a collection of carefully curated FAQs designed to demystify the process of using Canva’s versatile video templates. We cover everything from the basics of selecting the right template and customizing it to suit your needs, to more advanced topics like optimizing videos for different platforms and incorporating branding elements effectively. Each question is answered with clear, step-by-step instructions and is accompanied by practical, real-life examples to help you visualize the process and apply these tips and tricks to your own projects.
Our goal is to make your journey into video creation as smooth and enjoyable as possible. These FAQs are crafted to be easily digestible, rich in useful information, and most importantly, beginner-friendly. So whether you’re creating your first video or looking to enhance your existing skills, you’ll find valuable insights and tips to bring your vision to life.
Let’s embark on this creative adventure together and unlock the full potential of your stories and messages through the power of video in Canva!
Answer: Selecting the right template in Canva for your video project is a critical first step, especially for beginners. Canva offers a wide range of templates suited for various video types, whether it’s for business presentations, educational content, social media posts, or personal projects.
Identify Your Video’s Purpose: First, determine the objective of your video. Is it to educate, entertain, promote, or inform? Your goal will guide your template choice.
Explore Canva’s Template Library: Navigate to the “Video” section in Canva. You’ll find an array of categories like ‘Animated Social Media’, ‘Presentation’, ‘Video Collage’, etc. Browse through these categories to find a template that aligns with your video’s purpose.
Preview and Select a Template: Hover over templates to preview them. Once you find a template that resonates with your video’s theme and objective, click on it to start editing.
Real-Life Example: Imagine you’re creating a video on ‘Healthy Eating Habits’. You’d likely look for a template under categories like ‘Educational’ or ‘Lifestyle’. Select a template that already has elements of food imagery or a kitchen setting to make your editing process easier.
Answer: Customizing a Canva video template allows you to infuse your personal touch while maintaining a professional look. It’s a straightforward process, ideal for beginners.
Edit Text Elements: Click on any text in the template to edit. You can change the wording, font, size, color, and alignment. This is your chance to add your message or information.
Adjust Visual Elements: You can change or add images and graphics. Click on any image to replace it with another from Canva’s library or your uploads. You can also add or modify shapes, icons, and other elements from the “Elements” tab.
Incorporate Audio: Adding music or voiceovers can significantly enhance your video. Click on the “Audio” tab in Canva to browse and select from various music tracks or upload your own audio files.
Real-Life Example: If you’re creating a promotional video for a café, you might change the text to highlight your café’s name and special offers, replace images with those of your actual café and menu items, and add a light, jazzy background track to complement the café’s ambiance.
Answer: Incorporating your own video clips into a Canva template adds a personal and dynamic touch to your project. Editing these clips within Canva is user-friendly and effective for beginners.
Upload Your Video Clips: In Canva, go to the “Uploads” tab and upload your video files. Canva supports various video formats, making it convenient to import most video files.
Add Video Clips to the Template: Drag your uploaded video clips onto the canvas and place them where you want them in the template. You can adjust the size and position to fit the template’s layout.
Edit Video Clips: Canva allows basic video editing. Click on your video clip to trim its length, adjust the volume, or apply filters. This way, you can ensure that the clip fits well within the overall video.
Real-Life Example: Let’s say you’re creating a tutorial video on ‘Basic Yoga Poses’. You can upload clips of different yoga poses, insert them into the template at the appropriate points, trim each clip to focus on the specific pose, and perhaps add a filter for a calming effect.
Answer: Adding music and sound effects is a crucial part of video creation in Canva, especially for beginners who want to add a professional touch to their videos. Canva’s user-friendly interface makes this process accessible.
Choose Your Audio: In your video project, click on the “Audio” tab on the left-hand menu in Canva. You’ll find a wide range of music tracks and sound effects. Listen to the previews and choose one that complements your video’s mood and purpose.
Add Audio to Your Video: Once you’ve selected an audio track, simply drag it onto your timeline. You can place it over specific scenes or have it play throughout the video.
Adjust Audio Settings: After adding the audio, you can trim it, adjust the volume, and set it to fade in or out. This level of control allows you to synchronize the audio perfectly with your video content.
Real-Life Example: Imagine you’re creating a video on ‘A Day in Paris’. You might choose a light, French music track from Canva’s library to enhance the ambiance. Place the music so that it starts with a fade-in effect as the video showcases famous Parisian landmarks.
Answer: Animation can bring a dynamic flair to your video. Canva provides a range of animation options that are easy for beginners to apply.
Apply Animations to Elements: Select any text box, image, or element in your video template. Click on the “Animate” button in the top toolbar to view animation options like fade, pan, rise, etc. Choose one that suits your video style.
Animate Page Transitions: To animate transitions between different scenes or pages in your video, click on the transition icon between the pages on the timeline. Select from various transition effects provided by Canva.
Preview and Adjust Animations: After applying animations, preview your video to see how they look in action. Adjust the timing and type of animation as needed to ensure a smooth flow.
Real-Life Example: For a marketing video about a new tech gadget, you could apply a ‘rise’ animation to the images of the gadget, and a ‘slide’ transition between the scenes detailing its features, creating a modern and engaging effect.
Answer: Once your video is complete, exporting and sharing it is a straightforward process in Canva. Here’s how you can do it, even as a beginner:
Finalize Your Video: Ensure all elements of your video, including clips, text, audio, and animations, are as you want them. Preview the entire video for a final check.
Download Your Video: Click on the “Download” button at the top right corner of the Canva interface. Choose the video format (usually MP4) and the quality you prefer. Then, click ‘Download’ to save the video to your device.
Share Directly from Canva: Canva also allows you to share your videos directly from the platform. Click on the “Share” button, and you can share via email, get a shareable link, or post directly to your social media platforms.
Real-Life Example: After creating an instructional video on ‘Gardening Tips’, download it in high resolution for clear visuals. You can also share it directly to your social media or gardening groups to engage with your community.
Answer: Choosing the correct aspect ratio is key to ensuring your video looks great on various platforms. Canva provides multiple aspect ratio options to cater to different needs.
Understand Aspect Ratios: Common aspect ratios include 16:9 for YouTube or desktop viewing, 9:16 for Instagram Stories or TikTok, and 1:1 for square videos often used on social media platforms.
Selecting Aspect Ratio in Canva: When you start a new video project in Canva, you can select the aspect ratio that best suits your intended platform. For existing projects, you can adjust the aspect ratio, but be mindful that it may alter how your elements are displayed.
Customize for Your Audience: Think about where your audience will most likely view your video. A business presentation might be best in 16:9, while a social media ad might perform better in a 1:1 or 9:16 format.
Real-Life Example: If you’re creating a promotional video for Instagram, choosing a 9:16 aspect ratio will ensure your video fills the entire screen on a smartphone, making it more engaging for mobile viewers.
Answer: Text in videos can convey key messages and should be easily readable and visually appealing. Canva offers a variety of text editing tools to enhance your video.
Adding and Editing Text: Click on the ‘Text’ tab in Canva to add new text boxes to your video. You can edit the font, size, color, and alignment to match your video’s style.
Using Text Animations: Animations can make your text more engaging. Select your text box and click on ‘Animate’ to choose from various animation styles.
Balancing Text and Visuals: Ensure your text complements the visuals and doesn’t overcrowd the screen. Use text sparingly to convey your message effectively without overwhelming the viewer.
Real-Life Example: In a video about ‘Home Workout Routines’, use bold and clear text to highlight each exercise name. Animate the text to appear as each new exercise starts, keeping the viewer engaged and informed.
Answer: For beginners, finding the right balance in video length is crucial to keep the audience engaged. Canva’s tools can help you edit and time your video appropriately.
Understand Platform Requirements: Different platforms have varied optimal video lengths (e.g., Instagram Stories are typically up to 15 seconds, while YouTube videos can be longer). Consider where you’ll be posting the video.
Editing for Length in Canva: Use Canva’s trimming tools to cut down your video clips to necessary lengths. Be concise in your messaging and visuals to maintain viewer interest.
Maintaining Engagement: Shorter videos tend to keep viewers engaged, especially on social media. Aim for clear, concise content that delivers your message effectively within the viewer’s attention span.
Real-Life Example: For a quick social media update about a new product launch, keep your video under 30 seconds, highlighting the key features of the product with engaging visuals and succinct text.
Answer: Incorporating your brand into video content is vital for maintaining brand consistency and recognition. Canva makes it easy to add your branding elements to video templates.
Upload Brand Elements: Start by uploading your brand logos, custom fonts, and color palettes to Canva. You can use the ‘Uploads’ tab for logos and images, and the ‘Brand Kit’ feature (available in Canva Pro) for fonts and colors.
Integrate into the Template: Place your logo strategically in your video, such as in the corner or at the beginning/end. Use your brand colors for text and backgrounds, and apply your custom fonts to all text elements.
Maintain Consistent Branding: Consistency is key. Ensure that all your videos have a consistent look and feel that reflects your brand’s identity, creating a recognizable and professional appearance.
Real-Life Example: If you’re creating a series of training videos for your company, use your brand’s color scheme throughout the videos, place your logo in the same position in each video, and use your branded fonts for any text to strengthen your brand identity.
Answer: Canva’s timeline feature is a crucial tool for video editing, allowing you to control the timing and sequence of elements in your video.
Accessing the Timeline: When you’re editing a video in Canva, the timeline is at the bottom of the screen. Here, you can see the sequence of your video clips, text, and other elements.
Editing on the Timeline: Drag and drop elements on the timeline to change their order. You can also adjust the length of each element by clicking and dragging its edges to shorten or extend its duration.
Synchronizing Elements: Use the timeline to synchronize your video clips with audio, text, and animations. This ensures that your video flows smoothly and that all elements appear at the right time.
Real-Life Example: In a tutorial video about ‘Baking a Cake’, you can use the timeline to align the appearance of text instructions with each step shown in the video, ensuring viewers receive the information at the right moment.
Answer: Color schemes in videos can impact the mood and effectiveness of your message. Canva offers tools to select and apply colors that enhance your video’s appeal.
Understand Color Psychology: Different colors evoke different emotions. For example, blue can convey trust and calm, while red can signify energy and urgency. Choose a color scheme that matches the tone of your video.
Using Canva’s Color Tools: Canva provides color palettes and the ability to create custom colors. Use these tools to select a scheme that aligns with your video’s theme or brand.
Applying Colors to Your Video: Apply your chosen colors to backgrounds, text, and elements within your video. Consistent use of colors throughout the video creates a cohesive and visually pleasing experience.
Real-Life Example: For a video promoting a summer beach festival, use bright, vibrant colors like orange, yellow, and turquoise to create a lively and festive atmosphere in the video.
Answer: Adding effects and filters can significantly enhance the visual appeal of your video clips in Canva. This is a straightforward process, even for beginners.
Select Your Video Clip: In your Canva project, click on the video clip you want to edit. This will bring up the editing options.
Apply Filters and Effects: Canva offers a range of filters and effects that you can apply to your video clips. These can adjust the color, brightness, contrast, and more, giving your video a unique look and feel.
Customize the Effects: After selecting a filter or effect, you can often customize its intensity and other settings. Play around with these options to see what best suits your video’s style and message.
Real-Life Example: If you’re creating a vintage-style video, you might use a sepia or black-and-white filter to give your footage an old-fashioned look, complementing the theme of your video.
Answer: Shapes can be used in videos for various purposes, from highlighting information to adding visual interest. Canva makes it easy to add and customize shapes in your video templates.
Adding Shapes: In your Canva video project, click on the “Elements” tab and select “Shapes.” You’ll find a variety of shapes to choose from. Drag and drop your chosen shape onto your video.
Customizing Shapes: Once you’ve added a shape, you can customize its color, size, transparency, and position. This allows you to integrate the shape seamlessly into your video’s design.
Using Shapes Creatively: Shapes can be used to create backgrounds, borders, or to highlight text. Use them creatively to enhance the visual appeal and clarity of your video.
Real-Life Example: In a tutorial video about ‘Graphic Design Basics’, use shapes to highlight key points or to create a dynamic, layered background that makes the video more engaging.
Answer: Optimizing videos for social media is crucial for engagement and reach. Canva provides tools to tailor your videos for different social media platforms.
Choose the Right Format: Different social media platforms have preferred video formats and aspect ratios. For instance, Instagram Stories are best in 9:16, while feed posts work well in 1:1 or 4:5.
Keep It Short and Engaging: Social media videos should be concise and grab attention quickly. Use Canva’s editing tools to trim your video to an appropriate length, focusing on key messages.
Add Captions for Accessibility: Many people watch social media videos without sound, so adding captions can be beneficial. Canva allows you to add text easily to your videos.
Real-Life Example: If you’re creating a video for Instagram to promote a new product, make sure it’s short (15-30 seconds), uses an attention-grabbing opening, and includes captions to convey the message even without sound.
Answer: Creating a video slideshow in Canva is a great way to compile photos or clips in a dynamic format. Here’s how beginners can easily do this:
Choose a Slideshow Template: Canva offers specific templates for slideshows. Select one that fits your theme, whether it’s for a personal event, business presentation, or educational purpose.
Add Your Photos or Video Clips: Upload your images or clips to Canva and drag them onto the template. You can adjust their size and placement to fit the template’s frames.
Customize with Text and Music: Add text to convey your message or label your slides. You can also include background music from Canva’s audio library to complement the visual narrative of your slideshow.
Real-Life Example: For a birthday celebration video, choose a fun and festive slideshow template. Upload photos from various birthdays and add a happy, upbeat music track to enhance the celebratory feel of the slideshow.
Answer: With an increasing number of users accessing content on mobile devices, ensuring your Canva video is mobile-friendly is crucial. Here’s what beginners should focus on:
Consider Aspect Ratio and Layout: A vertical aspect ratio (9:16) is ideal for mobile viewing. Ensure that text and key visuals are centered and easily viewable on smaller screens.
Use Large, Legible Fonts: Small text can be hard to read on mobile. Use larger font sizes and high-contrast colors for better readability.
Test on a Mobile Device: Before finalizing your video, preview it on a mobile device to ensure that all elements appear as intended and the video plays smoothly.
Real-Life Example: If you’re creating a promotional video for social media, optimize it for mobile viewing by using a vertical format, ensuring text is large and easily readable, and testing the video on a smartphone before publishing.
Answer: Video storytelling is an effective way to engage and connect with your audience. Canva can help beginners craft compelling stories through their videos.
Plan Your Storyline: Before starting your video, outline your story – what’s the beginning, middle, and end? What message or emotion do you want to convey?
Select Appropriate Templates and Elements: Choose Canva templates and elements that complement your story’s theme. Use imagery, text, and music that enhance the narrative and engage viewers.
Maintain a Consistent Pace and Flow: Ensure your video has a rhythm that matches the story. Use transitions and pacing to guide viewers through the story seamlessly.
Real-Life Example: For a video about a community project, start with clips showing the need for the project, follow with footage of the project in action, and conclude with its positive impact, using consistent transitions and a narrative arc to engage viewers.
ChatGPT Prompts
ChatGPT Training
What We Offer
CHATGPT PRODUCTS
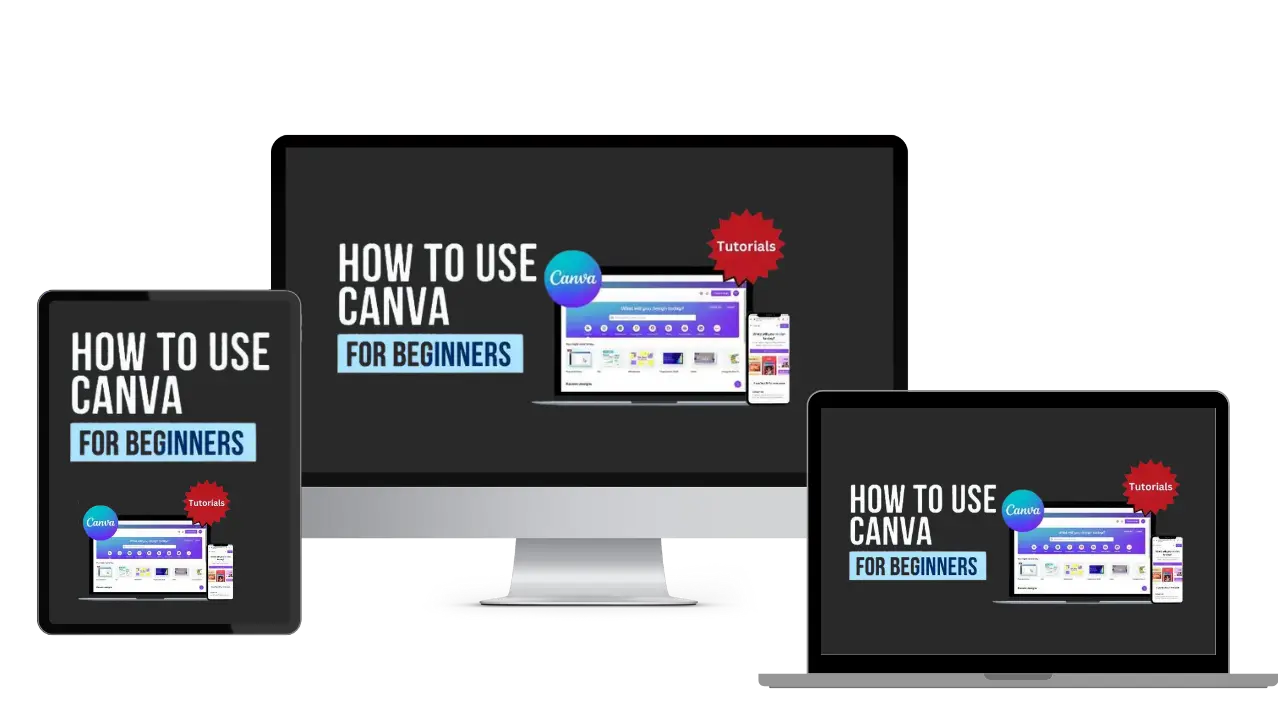
How To Use Canva For Beginners
Master Canva Quickly: Essential Tutorials for Beginners!
Start Creating Stunning Designs with Easy Canva Video Guides!
Step-by-Step Tutorials: From Basics to Brilliant Canva Creations!
Canva Training
What We Offer
CANVA PRODUCTS
Recent Posts


Customers Reviews
Rated 5 out of 5
DFY Niche Websites Testimonial
I bought a premade niche website from DFY Niche Websites. The site I got from them has been a great money maker for me.
I used to work a 9 to 5 job. But since working with Just Dream It Media the owners of DFYNicheWebsites.com I was able to quite my job.
Thanks Chad and Mike!

COLE JOHNSON
Best WordPress Content Creation Plugin!
Over 4,000 Website Using This Powerful WordPress Plugin.
Rated 5 out of 5
WP Learning 101 Testimonial
GREAT COURSE. I understood all of the teaching and it is rare for me to say that due to loss of hearing. The format was laid out in a building format so that each lesson added to the previous information learned. I have been searching for years for this information presented so that I could hear and understand. THANK YOU!! Five star from beginning to end.

Mike Sendler