A WordPress navigation menu gives visitors a dependable way to move through your site. It can link to pages, posts, categories, custom URLs, and important actions such as contacting you or viewing a shop. Creating one is straightforward, but a useful menu requires more than adding links. You must choose a sensible structure, place it where visitors expect it, label items clearly, and test it on smaller screens.
The exact screens depend on your WordPress setup. Sites using a block theme manage navigation through the Site Editor, while classic themes usually use Appearance, then Menus. The underlying principles are the same. This guide explains both methods, shows how to add and organize links, and covers accessibility, mobile behavior, dropdowns, troubleshooting, and ongoing maintenance.
Plan the menu before editing
Start by identifying the destinations visitors need most. A small business might use Home, About, Services, Portfolio, and Contact. A publication might organize links around Topics, Reviews, Guides, and an About page. An online store may prioritize Shop, Categories, Sale, Account, and Cart.
Keep the primary menu focused. Too many choices make scanning difficult and can force important links into a crowded dropdown. Put secondary destinations, such as privacy information, terms, careers, or social profiles, in a footer menu instead. The best structure reflects visitor tasks rather than the complete list of pages on your website.
Use familiar labels. “About,” “Contact,” and “Blog” are usually clearer than clever alternatives. If your audience may not understand an industry term, choose plain language or add a short explanation elsewhere. Consistent capitalization and wording make the menu look intentional.
Before building anything, sketch the hierarchy. Decide which items belong at the top level and which should sit beneath a parent. A menu map might look like this:
Home
About
Services
Consulting
Training
Resources
Contact
This simple outline prevents random ordering and makes later testing easier.
Create a menu with a classic theme
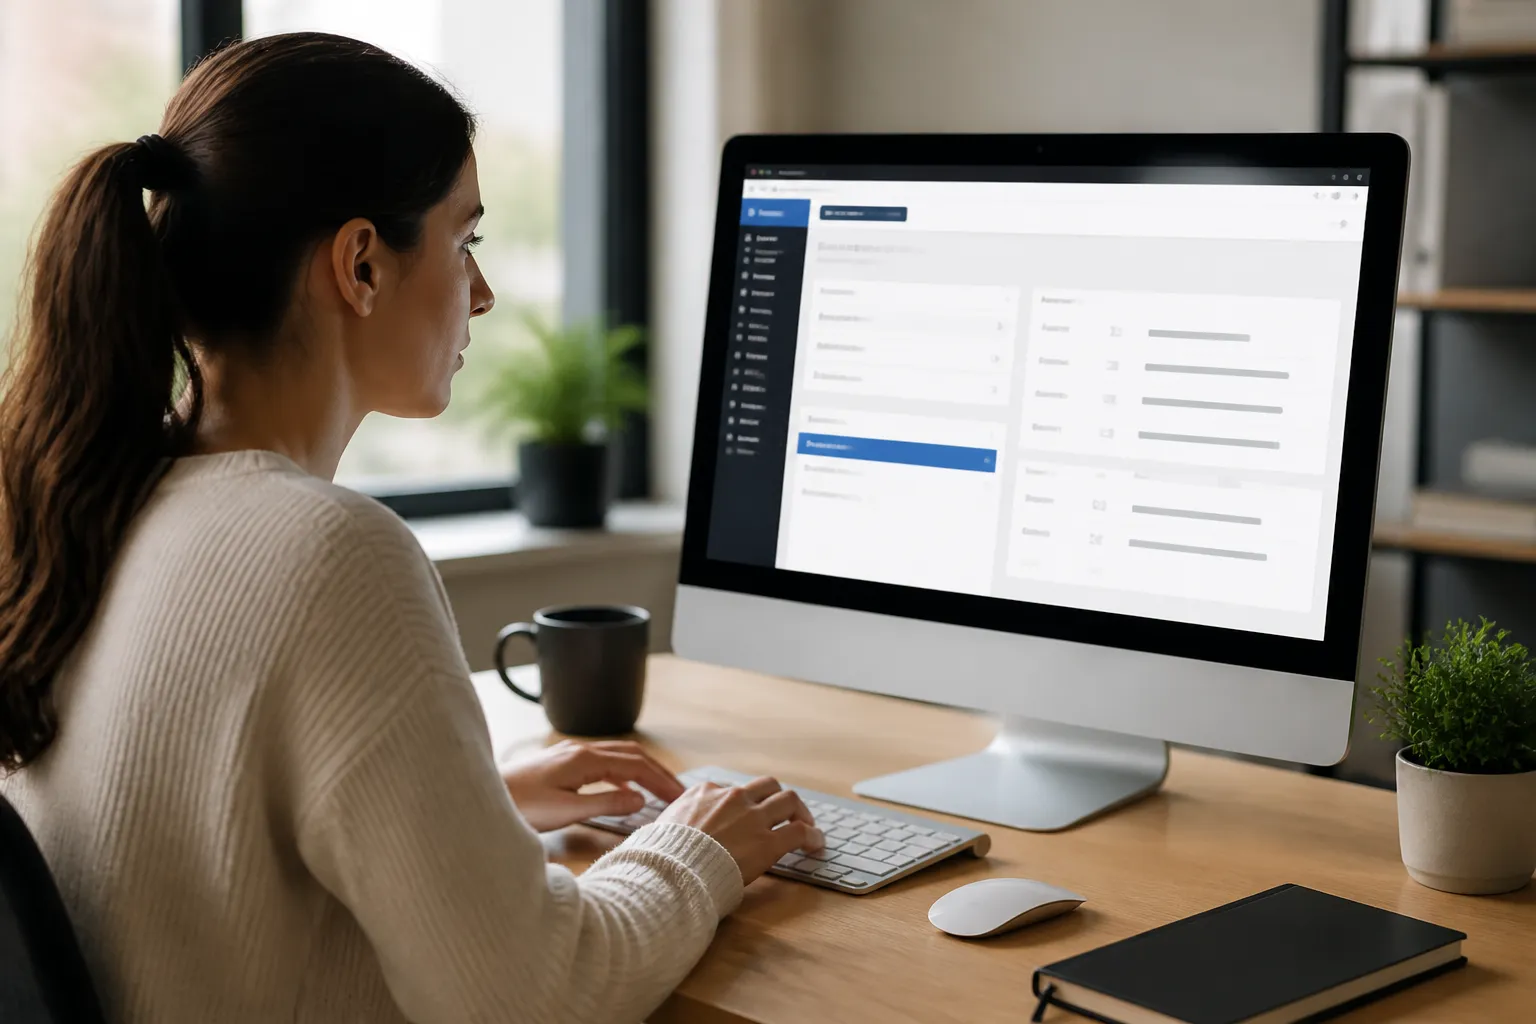
Classic themes generally provide a dedicated menu screen. Sign in to your WordPress dashboard and open Appearance, then Menus. If no menu exists, WordPress will ask you to create one. Enter a descriptive name such as “Primary Navigation,” then select Create Menu.
The menu editor usually contains panels for Pages, Posts, Custom Links, and Categories. Select the content you want, then choose Add to Menu. Newly added items appear in the menu structure on the right. The order shown there normally controls the order visitors see.
Select Save Menu after making changes. Saving is essential: moving between screens without saving can discard your work.
Add pages and other content
The Pages panel commonly shows your published pages, with an option to view recent or search results. Select the pages needed for your navigation and add them. You can also add categories if your site uses a blog or news section. A category link automatically displays relevant posts, so it may be more useful than linking to an individual article.
Custom Links are useful when you need a destination outside the normal page list. Enter the complete web address in the URL field and provide the text visitors should see in the Link Text field. Use custom links carefully. A typo or outdated address can create a broken path, so test every external destination.
You can sometimes add a site logo or a Home link separately, depending on the theme. Avoid duplicating a home link if your header already makes the logo clickable and the menu already includes Home. Duplication is not always harmful, but it consumes space and may confuse users.
Reorder items and create dropdowns
Drag menu items up or down to change their order. To create a submenu, drag an item slightly to the right beneath its intended parent. WordPress displays an indentation to show the relationship. For example, drag Training beneath Services and indent it until it appears as a child item.
Use dropdowns sparingly. A parent should represent a meaningful group and should help visitors predict what they will find underneath. Avoid nesting several levels deep; complex menus are harder to operate with a keyboard, touchscreen, or screen reader.
A parent item can link to a real overview page. This is often the most helpful option because visitors can open the parent page while still seeing its related choices. If you need a non-clickable heading, a custom link with a placeholder address is sometimes used, but behavior varies by theme and device. A real overview page is generally safer.
Assign the menu to a location
After building the structure, find the Menu Settings area. Under Display Location, select the position that matches your goal, such as Primary, Header, Main Menu, or Navigation. Theme names differ, so read the descriptions where available. A menu assigned to Footer will not appear in the header, even if every link is correct.
Some themes allow a menu to appear in more than one location. Assign the same menu to multiple locations only when that repetition is useful. A compact footer version often works better than duplicating a large desktop menu.
Save the menu again, then visit the public site. Check the header on the home page and at least one internal page. If the menu does not appear, confirm that it is assigned to an active location, that the theme supports that location, and that a cache is not showing an older version.
Create a menu with a block theme
Block themes use the Site Editor rather than the traditional menu screen. From the dashboard, open Appearance, then Editor. The available layout may vary, but you can usually open Navigation or select the header template part from the design interface.
Select the Navigation block. If the theme already includes navigation, click the block and edit its existing links. If it is empty, choose an option to create a new menu or add links. Search for pages, type a URL, or select another available content source. Enter the visible label, then confirm the link.
The Site Editor commonly saves changes automatically or provides a Save button in the upper corner. Look for the confirmation state before leaving. Because the header may be a shared template part, changing its navigation can update multiple pages at once. That is convenient, but inspect the result across your site before assuming the change affects only one page.
Configure block navigation settings
With the Navigation block selected, its settings may include layout, orientation, submenu behavior, overlay presentation, and typography. A horizontal layout suits many desktop headers, while a vertical or overlay presentation may work better when space is limited.
Do not change several design settings at once without testing. A font size, color, or spacing adjustment can alter the header height and push content down. Make one change, preview it, and keep it only if labels remain readable and links remain easy to tap.
For a submenu, select a link and use the option to create a submenu or add a submenu block. Place related links beneath a clear parent. The editor’s visual indentation helps you confirm the hierarchy, but the front-end behavior remains the final test.
Improve usability and accessibility
A navigation menu should work for people using different devices and interaction methods. Use meaningful link text, strong color contrast, and a visible focus indicator. Keyboard users should be able to reach every item with the Tab key, open relevant submenus, and understand where focus has moved.
Do not rely on color alone to show the active page. Themes often add an underline, weight change, or background state, but you should verify that the difference remains noticeable. Keep labels short enough to fit without awkward wrapping, especially on narrow screens.
Mobile menus need particular attention. Open the site on a phone or use the browser’s responsive tools. Tap the menu button, expand each submenu, select a link, close the menu, and reopen it. Look for buttons that are too small, text that overlaps, menus that extend beyond the viewport, or overlays that cannot be dismissed.
Test both touch and keyboard interaction. Hover-only dropdowns may work with a mouse but fail for touch users. A parent link that opens immediately can also make its submenu difficult to access on a small screen. If the theme offers settings for click behavior or a mobile overlay, use them deliberately rather than assuming the default is suitable.
Choose a practical menu structure
A header menu should answer three questions quickly: Where am I, what does this site offer, and how do I take the next step? Put the most important destinations near the beginning, but preserve a logical reading order. A Contact or Get Started link may deserve visual emphasis, yet it should not resemble an unrelated advertisement.
Consider the audience’s vocabulary and priorities. A professional service site may need Services and Industries; a community site may need Events and Members. Do not copy another site’s structure without checking whether its goals match yours.
Use categories for broad collections and pages for stable explanations. A “Recipes” category can gather changing articles, whereas an “Our Approach” page may remain a fixed destination. If a link points to a filtered archive, make the label accurately describe the result.
Avoid duplicate destinations unless evidence or site context justifies them. Multiple paths can help visitors, but repeated labels create clutter and make analytics harder to interpret. If a page is important, reinforce it through page content and calls to action rather than endlessly repeating it in navigation.
Troubleshoot common problems
If an item is missing, return to the menu editor and confirm that it was actually added and saved. In a classic menu, check whether it is assigned to the correct location. In a block theme, confirm that you edited the Navigation block used by the active header, not a different template or pattern.
If a dropdown will not open, inspect the parent-child indentation. A submenu can also be hidden by theme styling, plugin behavior, or a conflicting customization. Test with plugins temporarily disabled only if you understand the maintenance risks and can restore the original configuration. Never make changes on a live site without a backup or a dependable recovery plan.
If a link shows an error, copy its address directly from the public page and compare it with the menu URL. A page may have been renamed, moved, unpublished, or protected by permissions. Update the link and test it in a private browser window when access restrictions might conceal the problem.
Caching can make correct changes appear absent. Clear the relevant page, browser, or network cache, then reload. Avoid repeatedly editing a menu to solve a display delay; first establish whether the public response is stale.
If the menu looks different after changing themes, review the new theme’s locations and styling. Menu content can often be reused, but presentation rules belong to the theme. Reassign the menu and adjust labels or nesting to fit the new header.
Maintain the navigation over time
Review navigation whenever you add a major section, retire a service, or reorganize content. Click important links periodically, especially external links and campaign destinations. Remove obsolete items instead of leaving visitors to discover dead ends.
Use analytics or support feedback carefully. If visitors repeatedly search for a destination, that may indicate unclear labeling or poor placement. The solution might be a menu change, but it could also be better page headings, internal links, or a clearer call to action. Treat navigation as one part of the entire user journey.
Keep the primary menu stable when possible. Frequent rearrangement makes returning visitors relearn the interface. When a major change is necessary, test it with representative users or colleagues and compare task completion, confusion, and feedback rather than judging appearance alone.
Document unusual custom links, special classes, or theme-specific settings. This record helps future administrators understand why an item exists and reduces the risk of accidentally removing an important function.
Frequently asked questions
How many items should a WordPress menu contain?
There is no universal maximum. Include the destinations most visitors need, then move less important links to a footer or secondary menu. The practical limit depends on label length, screen width, font size, and the theme’s responsive behavior. If items wrap, overlap, or require several dropdown levels, simplify the structure.
Can I add a link to an external website?
Yes. Use Custom Links in a classic menu or add a URL through the Navigation block in a block theme. Enter the full address, check the label, and test the destination. Be cautious with links that open new tabs; unexpected tabs can disorient users. Use that behavior only when there is a clear reason.
How do I make a menu item non-clickable?
A common approach is a custom link whose URL uses a placeholder, but this can behave inconsistently and may create accessibility problems. A better solution is often to create a real parent overview page. If a non-link label is essential, check the theme’s documented navigation options and test keyboard and touch behavior thoroughly.
Why does my menu appear on some pages but not others?
Different templates may use different headers, template parts, or menu assignments. A page builder can also replace the theme header. Inspect the page’s template and the active header configuration. Clear caches after correcting the assignment, then test several page types rather than only the home page.
Should I include a Home link?
A Home link is useful when visitors may arrive on internal pages, when the logo is not obviously clickable, or when the audience expects a visible home destination. It may be unnecessary if the header clearly links the site logo to the front page. Choose one consistent approach and avoid needless duplication.
How can I change menu colors or spacing?
Block themes may expose typography, color, layout, and spacing controls in the Site Editor. Classic themes may provide Customizer settings, theme options, or custom CSS. Change styles conservatively, preserve contrast, and test hover, focus, active, expanded, and mobile states. A visually attractive menu is not successful if users cannot identify or operate its links.
What should I do before changing a live menu?
Record the existing structure, confirm you can restore it, and make changes during a suitable maintenance period. Save after each meaningful stage, preview the site, and test key paths on desktop, mobile, touch, and keyboard. If the navigation supports sales, registrations, or contact requests, verify those journeys from start to finish.
Conclusion
Creating a WordPress navigation menu involves selecting useful destinations, arranging them logically, assigning the correct location, and testing the finished experience. Classic themes use Appearance, then Menus, while block themes use the Site Editor and Navigation block. Whichever interface you have, prioritize clear labels, shallow hierarchy, reliable links, and mobile accessibility.
Begin with a small, purposeful structure. Add dropdowns only when they clarify related choices, not simply because more links exist. After saving, inspect real pages and operate the menu with a keyboard and phone. Continue checking it as your content changes. A well-maintained menu quietly guides visitors toward answers, services, and actions, making the entire WordPress site easier to use.